thesuperbusywoman

Super Mom Super Wife Super Tired.

Arianna’s American Girl Adventure January 28, 2014

AG!

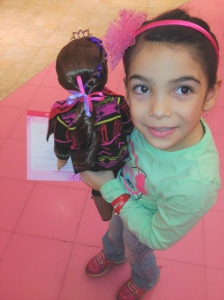
My little girl asked for her first American Girl Doll and this winter we fulfilled her wish. Christmas morning for her was just a bit more special when she opened her doll. You know that saying ‘Twinkle in the eye’? I swear I saw the twinkle in her eye when she realized just what she was opening.

Picture 606

This picture was taken soon after all the gifts were opened. PJ’s still on and all.

Picture 615

Speaking of PJ’s she received these adorable matching PJ’s as a Christmas gift from her cousin. Just know these are getting plenty of use.

Picture 637

Arianna has completely become a fan of the American Girl Dolls. I’m in for it but I love it. It’s cute and simple and fun! Oh to be a kid again. This morning (in the picture above) she was waiting for the announcement of the 2014 Girl of the Year.  She is totally excited the new doll Isabelle is a ballet dancer like herself.

ag1

With the excitement level still high, my husband and I knew we should let her have the total American Girl Doll experience and planned an afternoon at the American Girl Place downtown Chicago at the Water Tower Place.

Picture 850 Picture 851

Here is what I think is American Girl’s mission statement:

American Girl celebrates a girl’s inner star – that little whisper inside that encourages her to stand tall, reach high, and dream big.

How beautiful and inspiring!

Picture 854

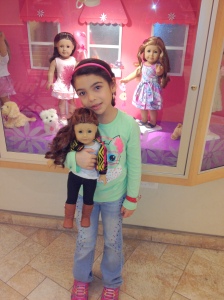
Throughout the store (which is two-stories of fun) you will find these cute window scene setters. This window display is her favorite because of all the pets. Arianna is a pet lover and has asked me for almost every pet you could possibly ask for.

Picture 856

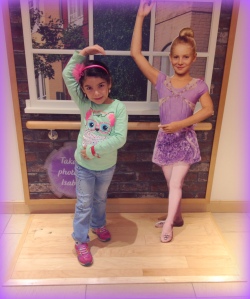
Meet Isabelle the 2014 Girl of the Year doll. Strike a pose – anyone?!

Picture 857 Picture 858

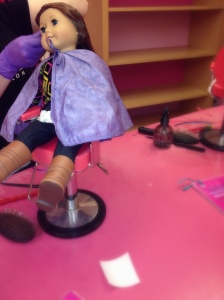
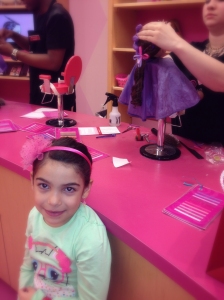
Within the store, you will find a hair salon for the dolls. Yes – you heard me correctly. Here they style, curl, color and braid your dolls hair. I gave her a choice – buy another outfit or get Saige’s hair done. Girl’s gotta have good hair, right?! It’s hilarious and just adorable. Each doll has her own stylist, has to make an appointment (usually within 15 minutes), and has her own chair station. Really?! I’m not joking. I have the pictures to prove it 🙂

Picture 860 Picture 862

Check out Saige’s new hair do. Tiara and all. She received the works. Style, curl, color and braid. Both these girl’s are spoiled.

Picture 863

Off we go to have tea time at the in-store restaurant. Um…super charming and extremely enchanting. They give high chair seats for the dolls so they can sit next to you. The dolls also get a little tea-cup that the little girls get to take home. Seriously, they have thought of everything. In the little pink and white polk-a-dot box they had conversation starters typed on pretty paper. Oh – and if you don’t have your American Girl Doll with you for whatever reason, they give loaner dolls. Like I said, they’ve thought of everything.

Picture 864

My son, poor thing, was so patient and honestly loved to see his sister so happy. He was beside himself when we told him he could get anything extra on the menu. That shake was his choice. It caused a chain reaction because the hubby and Arianna got one.

Picture 866

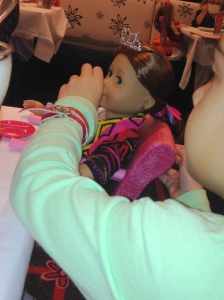
Here Arianna is giving Saige pretend tea from the tea-cup I mentioned before.

Picture 867

Loving that shake!!

Picture 871

The restaurant is gorgeous.

Picture 872

That is our silly girl. I may need to teach her tea time etiquette.

The little BLT sandwiches, scones, flower shaped fruits and much more were delish.

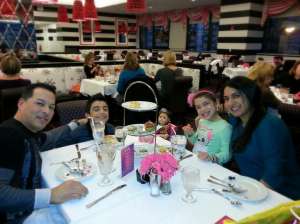
Picture 874

Here are my handsome men. Love!!

If you take a close look in between my two handsome men, you will spot a harpist. We enjoyed the beautiful music of the harp while we ate. Extremely a darling touch.

Picture 875

I love that smile.

Picture 876  Picture 877

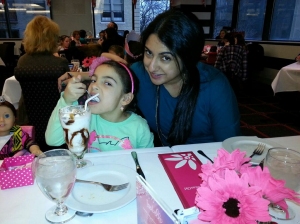
At this point, silence. It was attack the shake time. Priceless.

Picture 869

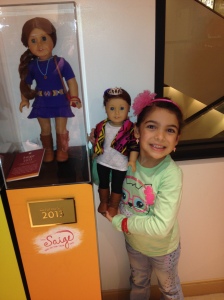
After tea, we headed out but not before we took a picture next to Saige the 2013 Girl of the Year. She is nestled in a glass box for safe keeping.

So there it is, the beginning of a new phase in this little girl’s life. I call it an adventure but my husband has another word for this phase – broke. HA/HA

Happy Adventuring,

Jackie


Kids Lounge January 21, 2014

Filed under: DIY Projects and more,Household Adventures — thesuperbusywoman @ 12:47 PM
Tags: , , , , ,

Picnic 028 Picnic 029 Picnic 030

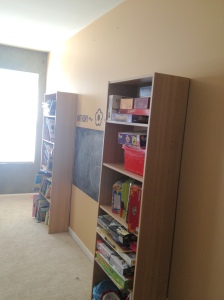
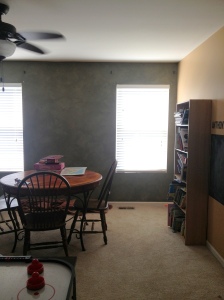
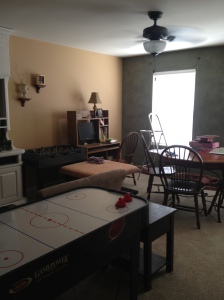
A few months ago I decided to paint and rearrange the kids lounge. They hang out in the room daily and it needed some sprucing. I decided to paint, get rid of a few things, buy some items and rearrange the furniture. I do need to invest in a proper sofa and ottoman soon because my babies are growing 😦

Picnic 031 Picnic 032 Picnic 033 Picnic 034 Picnic 035 Picnic 036 Picnic 037

First things first, prep the room for painting. I had to take everything down off the walls and fill in the holes with filler and did some sanding as well. I then primed the patches before painting. This progress isn’t the funniest part of painting but it makes for a beautiful clean and smooth wall.

Picnic 038

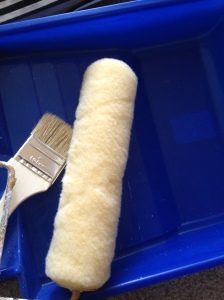
Let the fun begin! I get my painting tools together after I laid down the painters cloth.

Picnic 039 Picnic 040

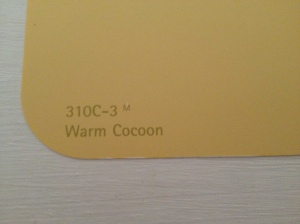
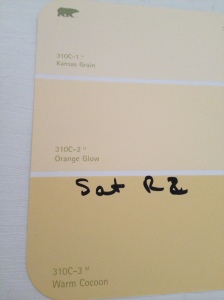
Here is the color I decided on Warm Cocoon. It’s warm and cocooning. LOL

HPicnic 041 Picnic 042

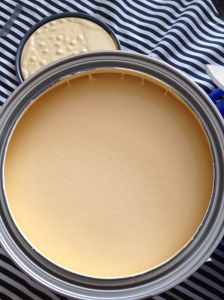
I love painting and pouring the paint so I can begin rolling is my favorite part.

I started the painting as soon as I dropped the kids off at the bus stop and was done by the time I had to pick them up. That evening I started to put things back into place and deciding where I wanted to place the bookshelf and the dry erase board.

The next morning I continued while the kids were in school and my goal was to have everything in its place by thetime I had to pick them up.

Picture 014 Picture 016

The dry erase board was a hit and till this day is heavily used.

Picture 023

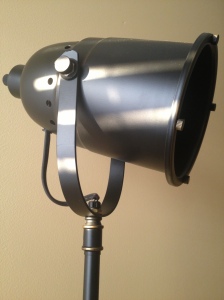
I love this floor lamp I found and placed it next the table so the kids have extra lighting when they are doing homework, coloring or reading.

Picture 024 Picture 177

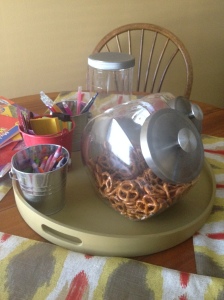
I added this placemats for a pop of color. I couldn’t resist. I filled the little tins with everyday items like pens, pencils, crayons and candy jars filled with snacks. I switch the snacks weekly so the kids won’t get bored. They love it.

Picture 176

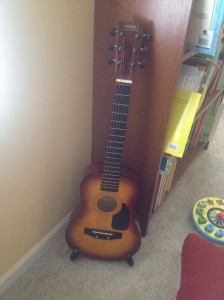
These over sized pillows are placed in front of the book shelf. All the kids use them when they play the guitar, grab a book or simply to relax on.

Picture 178 Picture 179

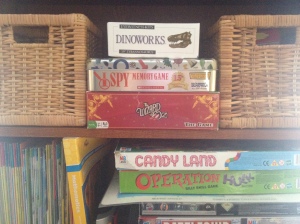
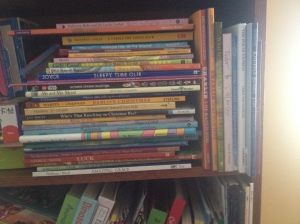
Here you can see I tried my best to organize the books as best I could but honestly it never looks great. Books come in so many shapes and sizes and colors that it looks like a mess always. But hey, a girl can try. I also stored board games they love to play.

Picture 180

My daughters guitar. She loves to play!

Picture 181

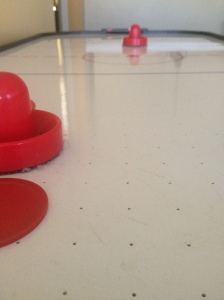
We get a lot of play from this.

Picture 182 Picture 183

This is the current seating and again I mentioned we need something more comfy.

I found these chevron pillow covers at Hobby Lobby and love them. Such an easy change.

blog 121

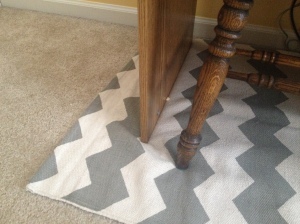
I also found this chevron rug from Hobby Lobby and place it under the kids computer. Love!

blog 120

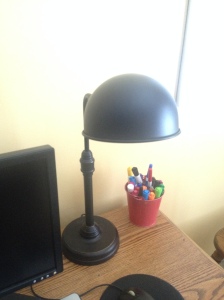
On the desk I placed this desk lamp that is similar to the floor lamp. All of things patterns and textures have pulled the room together and I am happy about it 😉

blog 119

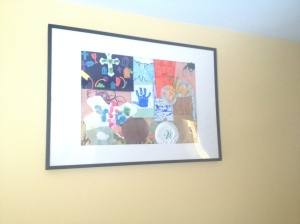
OMG…this is my most favorite item in the room. I have this 20×20 frame (fairly large statement) and placed some artwork from my kids when they were in pre-school. I LOVE it and smile when I see it.

Here’s a quick and inexpensive wall art project.

Picture 267Picture 268

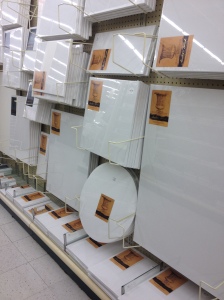
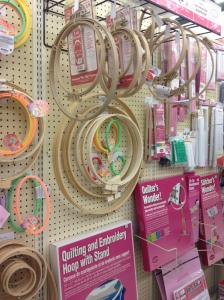
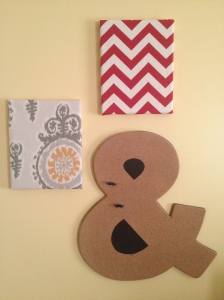
On my shopping adventures I found canvases on sale. At home I had quilting hoops I had no idea what I was going to use them for. So my light bulb went off and bought the canvases and fabric.

Picture 022 Picture 021

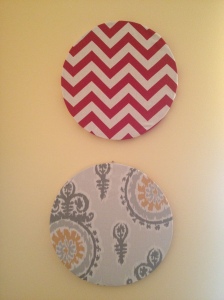
I hot glued the fabric onto the back of the canvas and the quilting hoops.

Check it out!

For less $15 I got 4 new pieces of wall art. Now that’s what I’m talking about!

Happy Lounging,

Jackie
 

Bacon Egg Cheese Sandwich January 18, 2014

Filed under: Food and Drinks — thesuperbusywoman @ 6:36 PM
Tags: , , ,

Picture 821

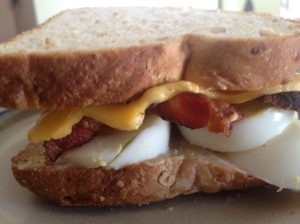
This is a great sandwich for breakfast and lunch – or brunch 🙂

Picture 802

Start by boling 2 eggs per sandwich. I was making a sandwiches for my dad and myself.

Picture 803

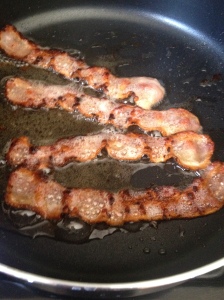
While the eggs boil, fry the bacon strips.

2 strips per sandwich is enough but I won’t judge if you put more.

Picture 804

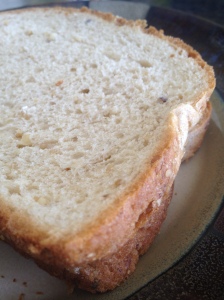
Choose bread of choice.

Picture 805

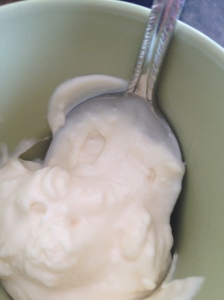
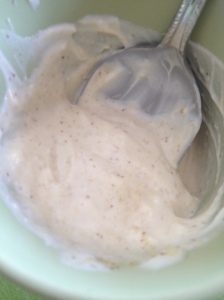
Let me show you a quick mayo spread for your sandwich. It’s super fast and can be mixed while the bacon is frying and the eggs are boiling. First, put about 1 tablespoon of mayo (per sandwich) in a bowl.

Picture 806

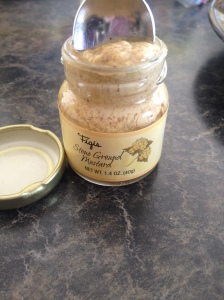
Next, grab any mustard you have on hand.

Picture 807

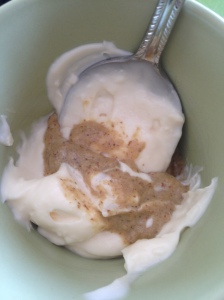
Add about a teaspoon to the mayo.

Picture 808

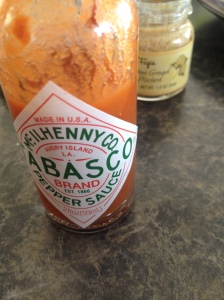
I like a little hot sauce so…

Picture 809

a few dashes were snuck in too.

Picture 810

Mix all together.

 Picture 812

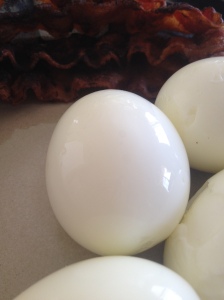
Remove the eggs from the boiling water and peel off shells.

Picture 813

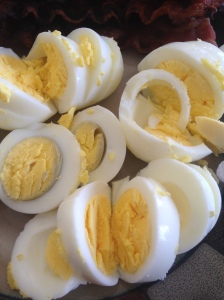
Slice like so.

Picture 814

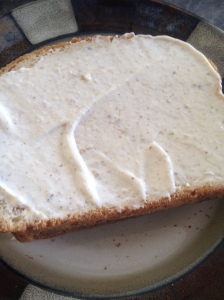
Spread the mayo on the bread slice.

Picture 815

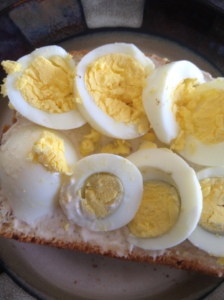
Now place the slices of eggs on top of the mayo. This way they stick to the mayo and won’t slip out.  Slippery suckers.

Picture 816

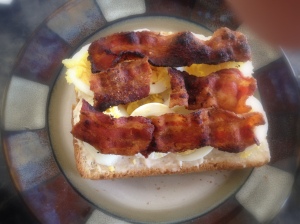
Yummy bacon time!

Picture 817

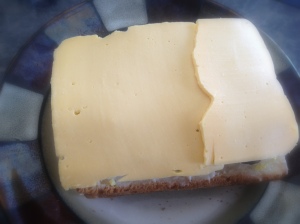
Place cheese next. If you work fast enough, the cheese will melt a bit from the heat of the eggs and bacon. Or place in micro for 20 seconds if need be. It won’t hurt the sandwich.

Picture 818

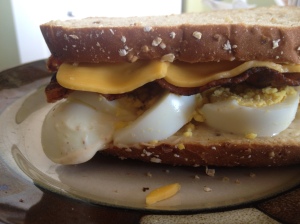
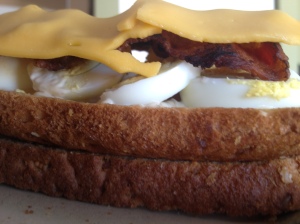
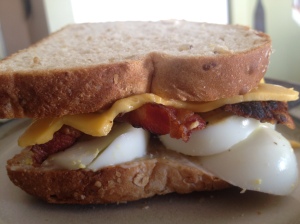
Looks delish!

Picture 819 Picture 820

Happy Brunching,

Jackie
 

Banana Nut Bread January 13, 2014

Filed under: Food and Drinks — thesuperbusywoman @ 2:04 PM
Tags: , , , , ,

 Picture 792

This Banana Nut Bread recipe is my moms. We have been baking it for years and I enjoy every mouth-watering crumb.

Ingredients:

1/2 cup of butter

1 cup of sugar

2 eggs

3 bananas (ripe)

2 cups of flour

1/2 tsp of baking soda

1/2 tsp of baking powder

1 cup of nuts (optional)

Picture 772

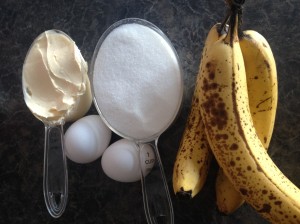
Gather ingredients and pre heat oven to 350 degrees.

Picture 774 Picture 775

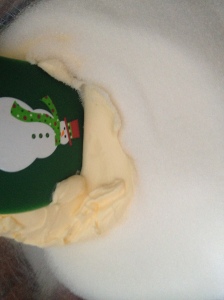
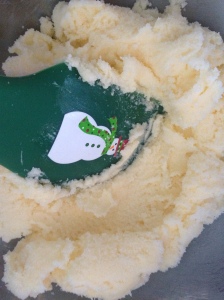
Pour 1 cup of sugar into bowl and add 1/2 cup of butter. Cream the butter and sugar.

Picture 776

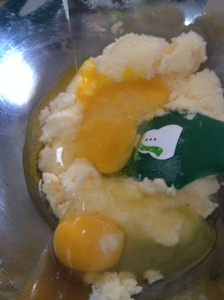
Add the 2 eggs and mix.

Picture 777 Picture 778

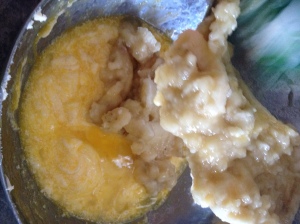
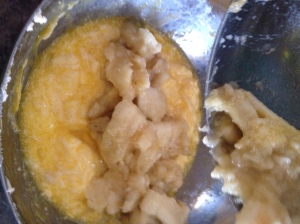
Mash the 3 bananas in a separate bowl and then add them to the mix.

Picture 779 Picture 780

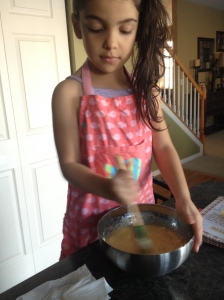
My daughter took over and I started to add the remaining ingredients.

Picture 782

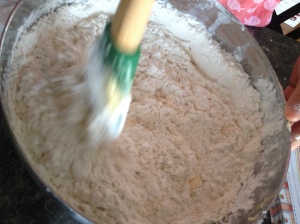
Add the 1/2 tsp of baking soda and the 1/2 tsp of baking powder. Then slowly stir in the 2 cups of flour.

Picture 783 Picture 784

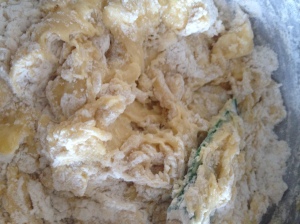
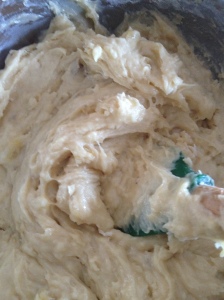
No mixer is necessary- just mix till the batter looks similar to the above picture.

At this point, you may also add the nuts.

Picture 785 Picture 787

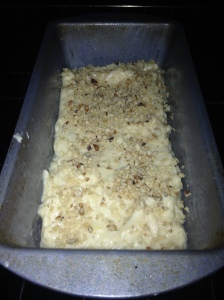
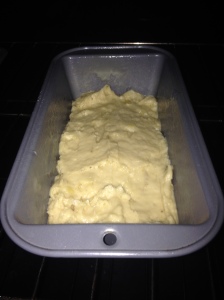
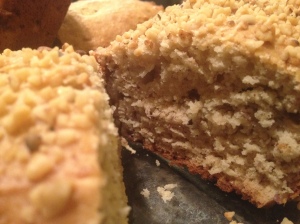
I decided to add nuts to only one of the loaves and sprinkle them on top instead of in the batter. Make sure the loaf pans are greased.

Picture 788

The loaves should bake for 50 minutes to an hour.  Use a fork to check center of each loaf.

Once they are baked fully, remove from the oven and place on a cooling rack.

Picture 790 Picture 792

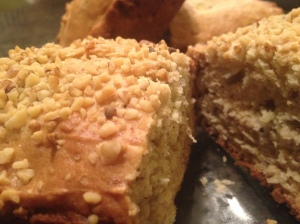
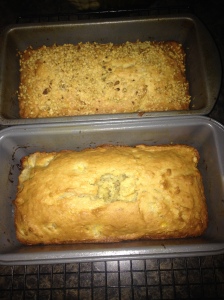
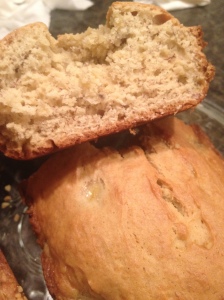
The Banana Bread is moist and light and fluffy. Like I mentioned earlier, mouth-watering. Mmmm!

Picture 794

Enjoy the bread warm or at room temp. Either way – Yum.

Happy Baking,

Jackie
 

All I needed was an “R” January 7, 2014

Filed under: DIY Projects and more — thesuperbusywoman @ 8:08 PM

I rearranged my wall hangings throughout my home – just for fun. I like to switch things up all the time and I do this with my furniture too.  Do you do the same?

Anywho, with the change I sometimes need to buy a few new things.

Bummer.

Not!

Fun! My excuse to buy something new is never a bummer.

Picture 772

For months I stared at this wall knowing I had to fill in that empty space. You see it, right? Ugh – it has annoyed me daily especially every trip down the stairs. It was smacking me in the face. Don’t get me wrong I  searched and searched contemplating what I wanted to put there. I just didn’t like anything.

One day my friend came to visit and said that something was missing. She looked and thought about it. I of course agreed and told her the story I just told you and she looked at me and said, “You need an “R”.” OMG – smack to the forehead. She was right. Duh!

That weekend I set out to get it.

Picture 639

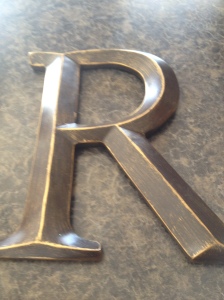
Here it is! As simple as that.

Why an “R” you ask? Simple – for our last name 🙂

Picture 773

Ahhhh – perfect! I feel so much better when I come down the stairs now.

Thank you Chris.

Happy Searching,

Jackie


Cookie Dough and Candy Cookies January 6, 2014

Picture 761

The other night I made these with my daughter for my family. Cookie Dough and Candy Cookies. Or if you prefer just Cookie Dough and Candy. As I mentioned before, I’m not big on chocolate so these don’t tempt me at all but everyone else LOVES chocolate so they were in heaven.

Picture 751 Picture 749 Picture 750

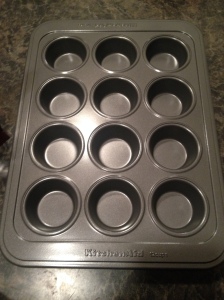
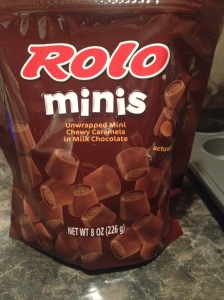
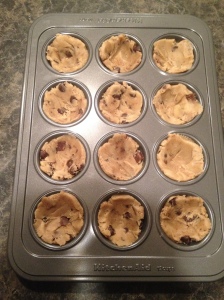
All you need is a mini muffin pan, Chocolate of desire (I chose Rolo’s because of the caramel inside) and of course cookie dough (use any refrigerated cookie dough).

Picture 753

Press the cookie dough along the sides of the mini muffin pan creating a cup like shape.

Picture 754

Once you have filled each one, bake for about 10-12 minutes on 350 degrees.

Picture 755

Now that they are done you will notice the centers filled in but trust me pressing the centers in earlier just makes it that much easier to place the candy.

Picture 756

Immediately press the candy of choice in the center of each cookie. Be careful – the pan is hot!

Picture 757

You will now see the candy begin to melt. Mmmmm. Let it melt for 5 minutes.

Picture 758

Now grab a spoon to carefully scoop out each cookie and place on your serving dish.

Picture 760

This one fell apart but you can see just how much the chocolate melts when placed into the cookie.

Picture 759

Picture 762

Don’t they look delish?!

 Picture 759 Picture 763 Picture 764

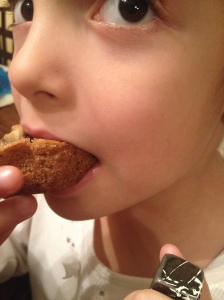
Um… yah… she is a happy little lady. Love her!!

Happy Chocolate Melting,

Jackie


Sealing The Basement Walls January 5, 2014

Filed under: DIY Projects and more,Household Adventures — thesuperbusywoman @ 9:05 PM
Tags: , , ,

Picture 312 Picture 313

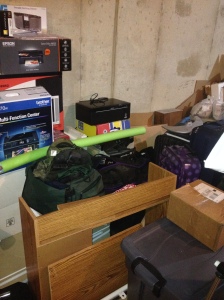
Yep – this is my messy basement. I am truly embarrassed because I am pretty organized on the other levels of my home and if you know me, this is so not me except it was. So again, I’m embarrassed But I am willing to expose my mess for this post 🙂

First things first, getting rid of half of this mess. Done!

Clean and prep the areas I’m going to paint (seal). Done!

Picture 742

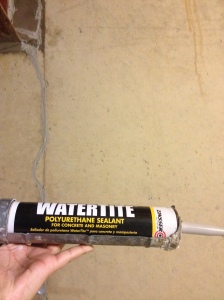
I then sealed some cracks that needed to be filled in with this polyurethane sealant. Always recommended when doing any sealing jobs in basements or garages.

Picture 315

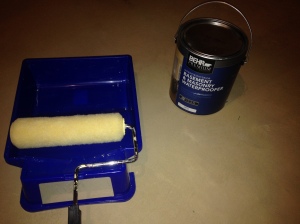
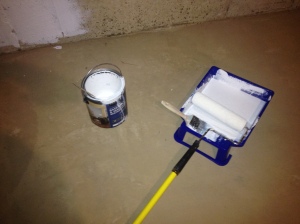
With everything prepped and ready, I got my materials together to start the painting.

Picture 316

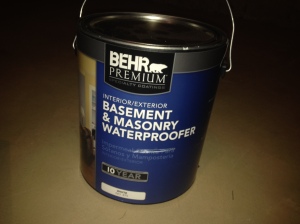
There are several waterproofing paints out in the market and I decided to try this one.

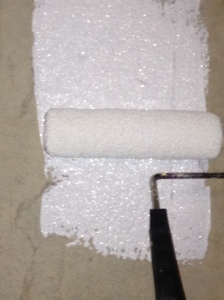
Behr Basement & Masonry Waterproofer.

Picture 317

Ok – paint is poured and here I go!

Picture 320 Picture 319

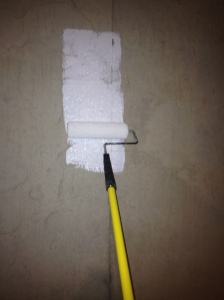
The first roll. Oh Yeah!

Can’t you tell I’m excited!!

Picture 323 Picture 322 Picture 321

Making some serious progress.

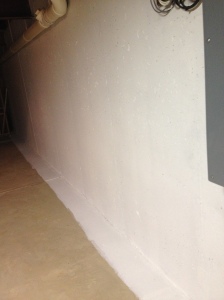
Picture 314 Picture 336

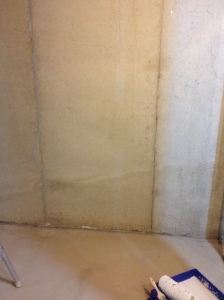
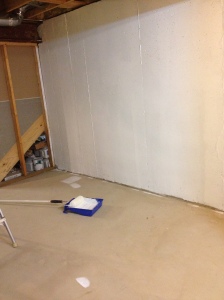
Here is a before and after of this area.

I only painted the floor here because this will be a closet one day and I probably will not put any flooring in or if I do, it won’t be for a very long time from now. So why not.

Picture 743 Picture 744

Another wall, before and after.

I think the paint makes the basement look so much cleaner. Don’t you?

Picture 746 Picture 745

The opposite wall got done too.

This will complete only half of the basement sealed and for now that’s all that will be done mainly because I have another mess I have to clean up on the other half of the basement. Oh boy – will it ever end?

Picture 747

No! but for now it will 🙂

Done!!

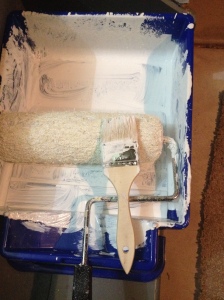
Off to clean the paint brush, pan and roller.

Happy Sealing,

Jackie


Shredded Beef Sandwich January 3, 2014

Picture 658
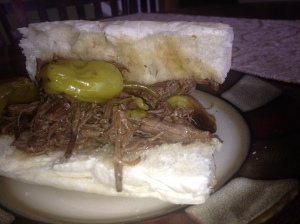
My Shredded Beef Sandwiches are fit for a King. They are OMG delicious. My mouth is watering as I’m blogging right now because I recall the savory, sweet yet spicy and juicy taste of the sandwich.

There is really no complication in preparing the sandwiches but it does require a ton of patience.

Here’s what you need:

Picture 649

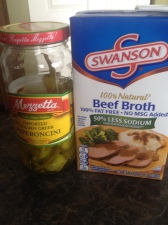
Beef Chuck Roast (2.5-3 lbs works best for my family of four), Jar of Peperoncini peppers, Beef Broth,  mozzarella Cheese if you want a cheesy beef,  Salt, Pepper, Garlic Powder and Bread (we get the day old bread of Jimmy Johns).

Jimmy John’s has day old bread that is far from being old. It only cost .50 cents per roll and the bread is still fresh and soft. And yes… I said .50 cents. Your welcome for that tip 🙂

chuck

Throw the chuck roast in the pot and season with salt, pepper and garlic powder.

Submerge the beef with the Beef Broth.

Pour in half jar of the juice from the Peperoncini Peppers and then add about half of the actual peppers on top of the Beef. The peppers should be floating on top.

Place the lid on the oven safe pot and bake for 6 hours on 350 degrees. This is where the patients have to come in.

**FAST FORWARD 6 HOURS**

Carefully remove the Beef Chuck Roast of the pot and place on a cutting board. Begin to remove any fat pieces. Once the fat is removed, start to shred all the beef till all of it is shredded. Now place all the beef back into the juice that is in the pot. Let it soak for at least 20 minutes.

Ok – now you can start serving the sandwiches. Thank goodness the wait is over.

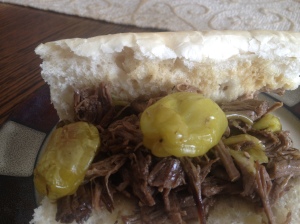
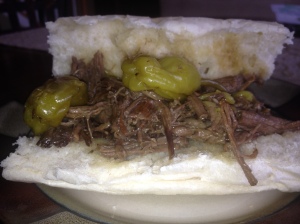
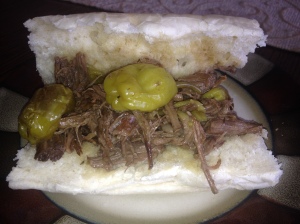
Picture 654 Picture 656 Picture 655

I love the peppers on my sandwich so I always put a little extra on mine.

Happy Eating,

Jackie